Glassy Water

Lesson One - Glassy Water

You’d think seaplane pilots would want absolutely calm water, wouldn’t you? But glassy water creates a flat, calm surface that reflects like a mirror and can be one of the most dangerous conditions a seaplane pilot can face. 

Calm, glassy water presents a set of large challenges in float plane operation. Since the wind is calm, taxiing and docking are somewhat easier, but takeoffs and landings require special techniques. Takeoff distances may be longer because the wings get no extra lifting help from the wind. The floats seem to adhere more tenaciously to the glassy water surface (almost like a suction cup). When landing, the flat, featureless surface makes it far more difficult to gauge altitude accurately, and reflections can create confusing optical illusions. 

It is good to practice glassy water landings on non-glassy water so that you can become proficient before actually being put to the glassy water test. Of course, you use a little more room with this technique, so you have to be sure your waterway is long enough. 

GLASSY WATER—A calm water surface with no distinguishable surface features, with a glassy or mirror like appearance. Glassy water can deceive a pilot’s depth perception.

The specific techniques for glassy water operations are covered below in detail. 

Glassy Water Takeoffs

Glassy water makes takeoff more difficult in two ways. The smoothness of the surface has the effect of increasing drag, making acceleration and lift-off more difficult. This can feel as if there is suction between the water and the floats. A little surface roughness actually helps break the contact between the floats and the water by introducing turbulence and air bubbles between water and the float bottoms. The intermittent contact between floats and water at the moment of lift-off cuts drag and allows the seaplane to accelerate while still obtaining some hydrodynamic lift, but glassy water maintains a continuous drag force. 

Once airborne, the lack of visual cues to the seaplane’s height above the water can create potentially dangerous situation unless a positive rate of climb is maintained


Glassy Water Takeoff Techniques

Technique #1 - Lift One Float

The takeoff technique is similar to a normal takeoff until the seaplane is on the step and nearly at flying speed. At this point, the water drag may prevent the seaplane from accelerating the last few knots to lift-off speed. To reduce float drag and break the grip of the water, the pilot can apply enough aileron pressure to lift one float just out of the water and allow the seaplane to continue to accelerate on the step of the other float until lift-off. 

When using this technique, be careful not to lift the wing so much that the opposite wing contacts the water. Obviously, this would have serious consequences. Once the seaplane lifts off, establish a positive rate of climb to prevent inadvertently flying back into the water.

Technique #2 - Wake Assisted Takeoff

Another technique that aids glassy water takeoffs entails roughening the surface of thwe water. By taxiing around in a circle, the wake of the seaplane spreads and reflects from shorelines, creating a slightly rougher surface that can provide some visual depth and help the floats break free during takeoff. This can be completed at a slow taxi speed in confined areas but is more effective if completed during a step taxi, as the wake created will be larger. 

If completed as part of a step taxi, the aircraft should make a 270 degree turn while on the step and accelerate as they turn to a perpendicular wake intercept heading.

Planning Ahead

Occasionally a pilot may have difficulty getting the seaplane onto the step during a glassy water takeoff, particularly if the seaplane is loaded to its maximum authorized weight. The floats support additional weight by displacing more water; they sink deeper into the water when at rest. Naturally, this wets more surface area, which equates to increased water drag when the seaplane begins moving, compared to a lightly loaded situation. Under these conditions the seaplane may assume a plowing position when full power is applied, but may not develop sufficient hydrodynamic lift to get on the step due to the additional water drag.

The careful seaplane pilot always plans ahead and considers the possibility of aborting the takeoff.

Glassy Water Landings

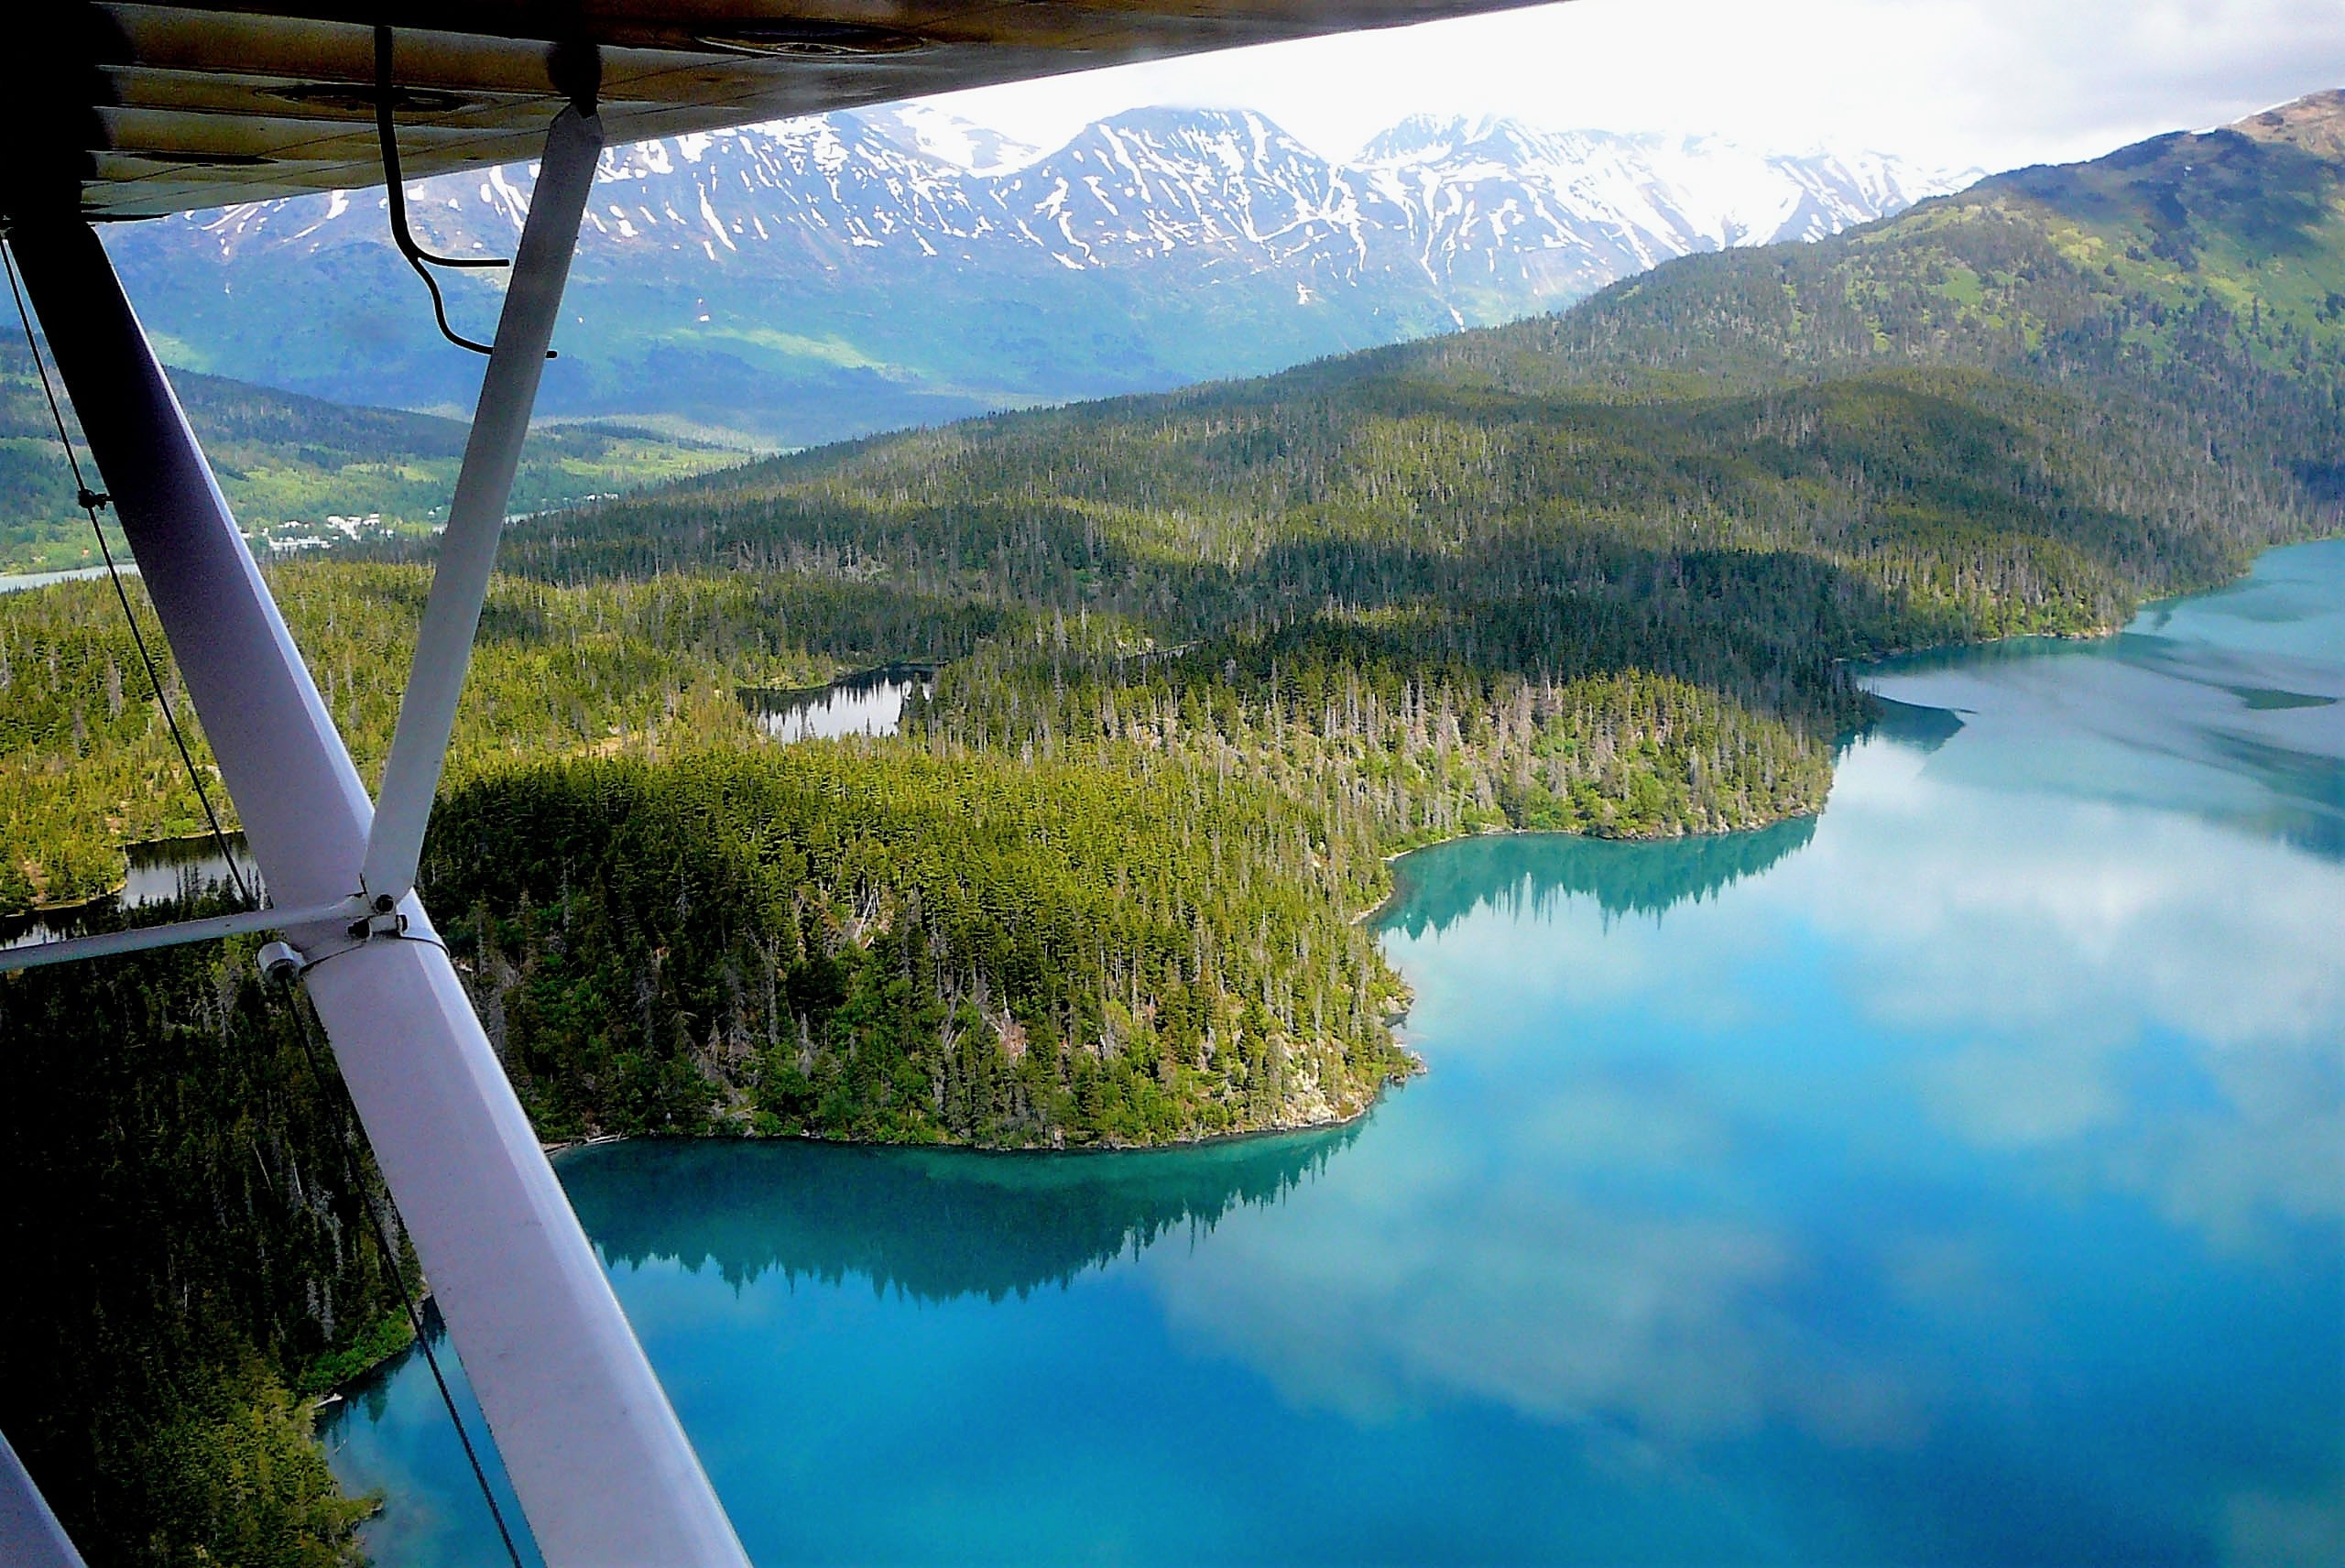
Flat, calm, glassy water certainly looks inviting and may give the pilot a false sense of safety. By its nature, glassy water indicates no wind, so there are no concerns about which direction to land, no crosswind to consider, no weathervaning, and obviously no rough water. Unfortunately, both the visual and the physical characteristics of glassy water hold potential hazards for complacent pilots. Consequently, this surface condition is frequently more dangerous than it appears for a landing seaplane. 

The visual aspects of glassy water make it difficult to judge the seaplane’s height above the water. The lack of surface features can make accurate depth perception very difficult, even for experienced seaplane pilots. Without adequate knowledge of the seaplane’s height above the surface, the pilot may flare too high or too low. Either case can lead to an upset. If the seaplane flares too high and stalls, it will pitch down, very likely hitting the water with the bows of the floats and flipping over. If the pilot flares too late or not at all, the seaplane may fly into the water at relatively high speed, landing on the float bows, driving them underwater and flipping the seaplane.


The consequences of misjudging altitude over glassy water can be catastrophic.

Besides the lack of surface features, the smooth, reflecting surface can lead to confusing illusions as clouds or shore features are reproduced in stunning detail and full color. When the water is crystal clear and glassy, the surface itself is invisible, and pilots may inadvertently judge height by using the bottom of the lake as a reference, rather than the water surface. 

The lack of surface texture also presents a physical characteristic that adds slightly to the risk of glassy water landings. A nice smooth touchdown can result in faster deceleration than expected, for the same reason that the floats seem to stick to the surface during glassy water takeoffs: there is less turbulence and fewer air bubbles between the float bottoms and the water, which effectively increases the wetted surface area of the floats and causes higher drag forces. Naturally, this sudden extra drag at touchdown tends to pull the nose down, but if the pilot is expecting it and maintains the planing attitude with appropriate back pressure, the tendency is easily controlled and presents no problem. 

There are some simple ways to overcome the visual illusions and increase safety during glassy water landings. Perhaps the simplest is to land near the shoreline, using the features along the shore to gauge altitude. Be certain that the water is sufficiently deep and free of obstructions by performing a careful inspection from a safe altitude. Another technique is to make the final approach over land, crossing the shoreline at the lowest possible safe altitude so that a reliable height reference is maintained to within a few feet of the water surface. 

When adequate visual references are not available, make glassy water landings by establishing a stable descent in the landing attitude at a rate that will provide a positive, but not excessive, contact with the water. Recognize the need for this type of landing in ample time to set up the proper final approach. Always perform glassy water landings with power. Perform a normal approach, but prepare as though intending to land at an altitude well above the surface. For example, in a situation where a current altimeter setting is not available and there are few visual cues, this altitude might be 200 feet above the surface. 

Landing preparation includes completion of the landing checklist and extension of flaps as recommended by the manufacturer. The objective is to have the seaplane ready to contact the water soon after it reaches the target altitude, so at approximately 200 feet above the surface, raise the nose to the attitude normally used for touchdown, and adjust the power to provide a constant descent rate of no more than 150 feet per minute (f.p.m.) at an airspeed approximately 10 knots above stall speed. Maintain this attitude, airspeed, and rate of descent until the seaplane contacts the water. Once the landing attitude and power setting are established, the airspeed and descent rate should remain the same without further adjustment, and the pilot should closely monitor the instruments to maintain this stable glide. Power should only be changed if the airspeed or rate of descent deviate from the desired values. Do not flare, but let the seaplane fly onto the water in the landing attitude.

Glassy Water Landings Technique - WITH a Visual Reference (Preferred)

This is the technique that is ALWAYS used at Alaska Float Ratings. Flying in Alaska backcountry presents a lot of challenges but one benefit of Alaska float flying is that you can ALWAYS find an adequate visual reference (and almost always a shoreline) to use for landing on glassy water. 

Get Very Married To The Shoreline!


With a solid visual reference, accomplish a normal approach while remaining CLOSE to the visual reference  so that you can maintain an accurate perception of your height above the water. As you approach the water, accomplish the below steps:

  • CHOP – Sometime prior to Last Visual Reference , Power to Idle.
  • PITCH – Set landing attitude and descent rate at Last Visual Reference, approximately 20-30’ above the water
  • POWER – approx. 1700 – 1800 rpm until touchdown (will vary with aircraft weight), to maintain no more than 150fpm descent
  • PATIENCE – HOLD STEADY LANDING ATTITUDE UNTIL TOUCHDOWN
Sea Plane Landing Glassy Water Visual Reference

Glassy Water Landing Technique - WITHOUT a Visual Reference (Not Preferred)

Glassy water landings without a constant visual reference are much more risky, though they are occasionally necessary. If it becomes necessary to accomplish a glassy water landing over an obstacle or in a scenario where the body of water does not provide you with a continuous visual reference (shoreline, etc) it is crucial that the proper landing attitude and descent rate (no more than 150 fpm) are set at a higher elevation above the water (200 ft recommended). 

Glassy Water Confusion

This video provides a perfect visual of how bad depth perception can be over glassy water. In this example, the pilot thought he was on the water multiple times before he actually landed. Had the pilot reduced power or pitch after any of his initial perceptions of being on the water it is very likely that he would have crashed. 

This video shows exactly why Alaska Float Ratings teaches to ALWAYS maintain a solid visual reference during glassy water landings.  

After Touchdown

  • TOUCHDOWN – Verify POSITIVE TOUCHDOWN.

KEEP THE TOES UP.

  • SHUTDOWN – throttle immediately to idle
  • LET IT SLIDE – maintain landing attitude
  • AS THE NOSE COMES UP
    • STICK BACK
    • WATER RUDDER DOWN
    • FLAPS UP (Retract)

Upon touchdown, apply gentle back pressure to the elevator control to maintain the same pitch attitude. Close the throttle only after you have confirmed that the seaplane is firmly on the water. Three cues provide verification through three different senses—SIGHT, SOUND, and FEEL

SIGHT – Sees a slight nose-down pitch at touchdown and perhaps spray thrown to the sides by the floats.

SOUND – Hears the sound of the water against the floats.

FEEL – Feels the deceleration force.

Accidents have resulted from cutting the power suddenly after the initial touchdown. To the pilot’s surprise, a skip had taken place and as the throttle closed, the seaplane was 10 to 15 feet in the air and not on the water, resulting in a stall and substantial damage. 

Be sure all of the cues indicate that the seaplane is staying on the water before closing the throttle. After the seaplane settles into a displacement taxi, complete the after-landing checklist and lower the water rudders.

An accurately set altimeter may allow the pilot to set up for the touchdown at an altitude somewhat closer to the surface. If the pilot can be certain that the landing configuration and 150 f.p.m. descent will be established well above the water’s surface, starting the final glide nearer the surface shortens the descent time and overall landing length. This technique usually produces a safe, comfortable landing, but the long, shallow glide consumes considerable landing distance. Be certain there is sufficient room for the glide, touchdown, and water run. 

Safe Flying — Keep the Shiny Side Up — Be Procedure Oriented

See you on the water.